Setup and Configure
Introduction
The tutorials on the next pages are based on the Github example and will walk you through them to test different Composability features on Neon EVM Devnet and Solana Devnet.
- TestCallSolana.sol - This is a solidity smart contract which interacts with the precompile
0xFF00000000000000000000000000000000000006via theICallSolana.solinterface contract described in details here. - config.js - This is a script which includes the contract address of the deployed
TestCallSolana.soland the helper functions required to execute the instructions on Solana via the deployed smart contract.
Step 1: Installation
Note: For more details on installing Hardhat, refer to the Hardhat documentation.
Using Git, clone the example Hardhat project from the remote repository and navigate to it:
git clone https://github.com/neonlabsorg/neon-tutorials
cd neon-tutorials/hardhat
Then, run the following command:
npm install
This will install all the necessary packages to continue with the example tutorials. These packages include the Hardhat library and most importantly @solana/web3.js .
If the above command results in an error, run:
npm cache clear --force
npm install
About @solana/web3.js library:
In our tutorials, we use the @solana/web3.js library because it's an invaluable tool for preparing and passing Solana instructions to on-chain requests. This library supports a comprehensive set of instructions essential for the development cycle. We strongly recommend using it as it formats the instructions in the exact way that the Composability precompile expects.
Step 2: Set Up MetaMask Accounts
This step requires an EVM-compatible wallet such as MetaMask, connected to Neon Devnet, with a balance in Devnet NEON available from NeonFaucet.
The following tutorials will assist you to meet these prerequisites:
2.1 Obtain the private key for your wallet account.
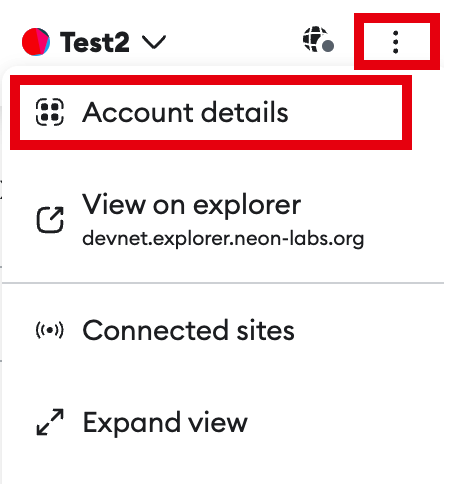
To obtain the private key from MetaMask, from the hamburger menu, click Account Details > Show Private Key, enter your password, and click Confirm for access to the private key for that account.
2.2 Create a .env file and add these lines:
PRIVATE_KEY_OWNER=`YOUR_PRIVATE_KEY`
USER1_KEY=`2ND_PRIVATE_KEY`
Replace OWNER_PRIVATE_KEY and 2ND_PRIVATE_KEY with the private keys of your wallet.
Step 3: Compile Contracts
All of the contracts are located in the project's contracts/ directory. Before these contracts can be run, they must first be compiled. To compile the project's contracts, run the following command:
npx hardhat compile